This page are graphical versions of the instructions on the registering to the chat platform page.
Please read that page first for more information.
Sign up
Create an account
-
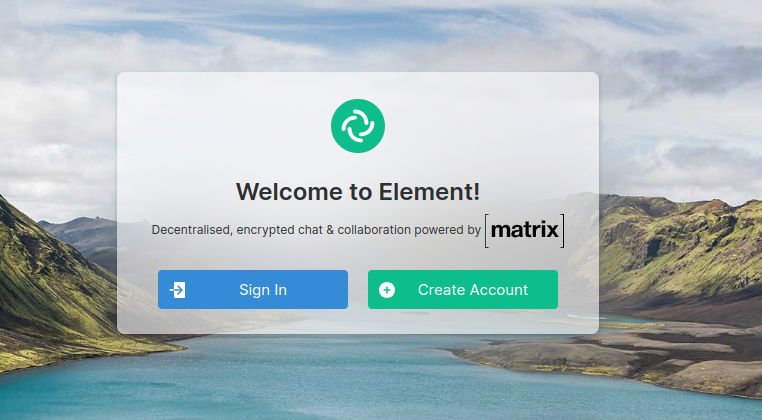
Go to https://chat.archaeo.social/#/welcome in your web browser to create an account and follow the instructions
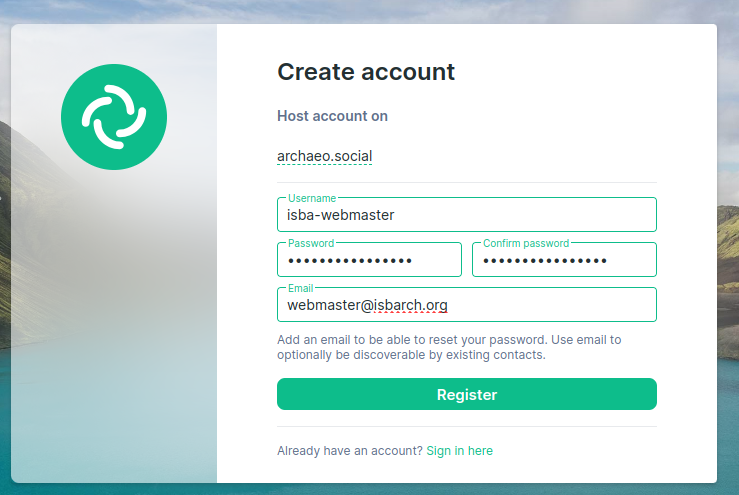
- ⚠️ make sure the server is set to ‘archaeo.social’ (URL: https://matrix.archaeo.social) and NOT just the default ‘matrix.org’
-
Fill in the username and password details as necessary
- Check your email account to confirm the account
- The confirmation email might take up to 10m to arrive in your mail post
- Don’t forget to check your spam folder!
- Confirm your password as instructed in the email
-
Skip the onboarding survey
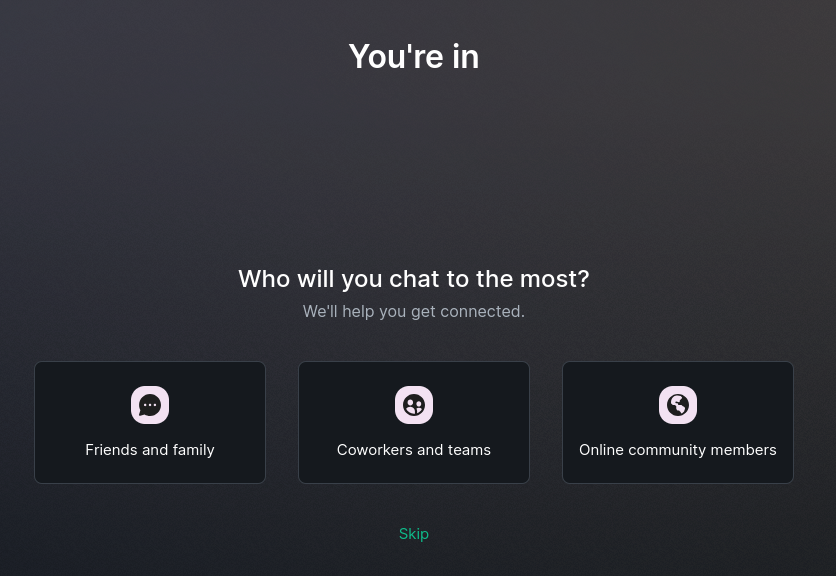
- You should then see the initial chat page of the archaeo.social workspace!
- Note that this is not yet the ISBA space but the common space of the archaeo.social collective!
- Feel free to go through the onboarding steps (e.g. turn on notifications)
-
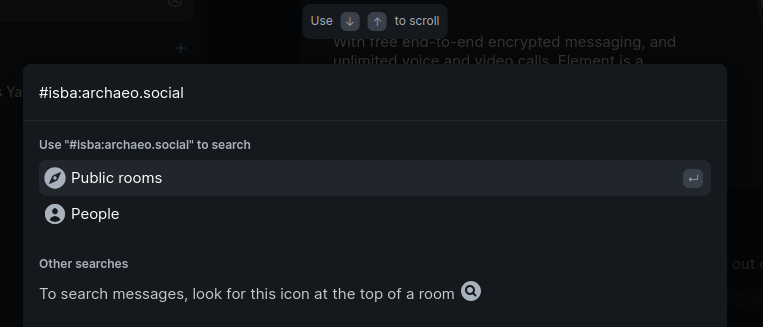
To join the ISBA space: in the search bar at the top,
-
Search for
#isba:archaeo.social- If this does not work, go to the following link in your web browser https://matrix.to/#/#isba:archaeo.social and open the redirect in your Element client/app
-
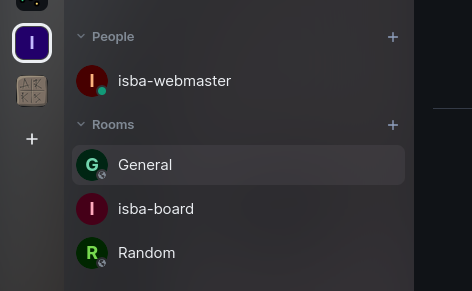
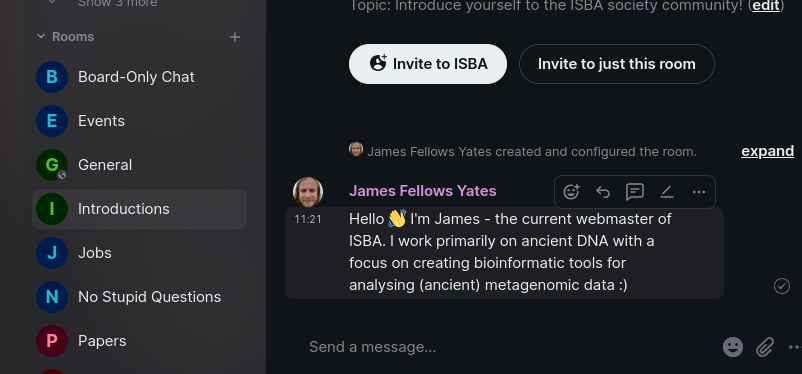
Once you’re in the ISBA space, should see at least two public ‘rooms’ (a.k.a. channels) - General and Random.
-
Go to to the room ‘Introductions’
-
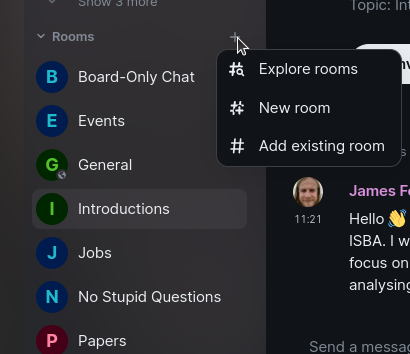
If you don’t see the ‘Introduction’ room in your side bar, press the
+symbol next to the ‘Room’ section of the side bar -
Press ‘Explore rooms’
-
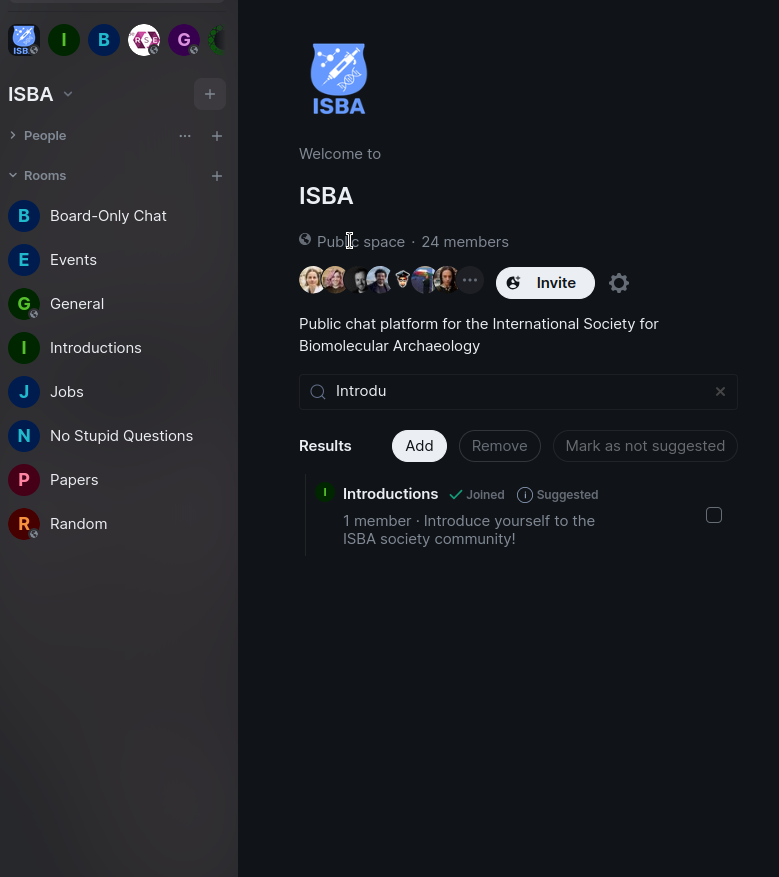
Press the ‘Join’ button that will appear next to the ‘Introdutions’ room (in this case I’ve already joined)
-
- Introduce yourself!
Verification
First step: encryption
-
Open the personal settings menu (click on your face/profile picture in the top left)

- Go to the ‘Security and Privacy’ section
-
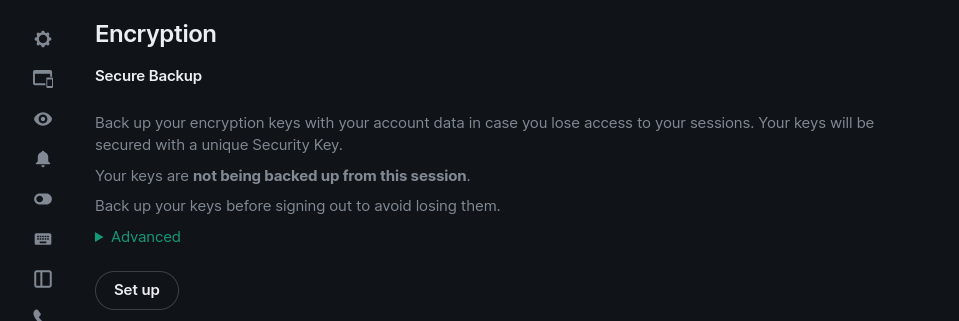
In the menu, under Encryption, and Secure Backup, press ‘Set up’
-
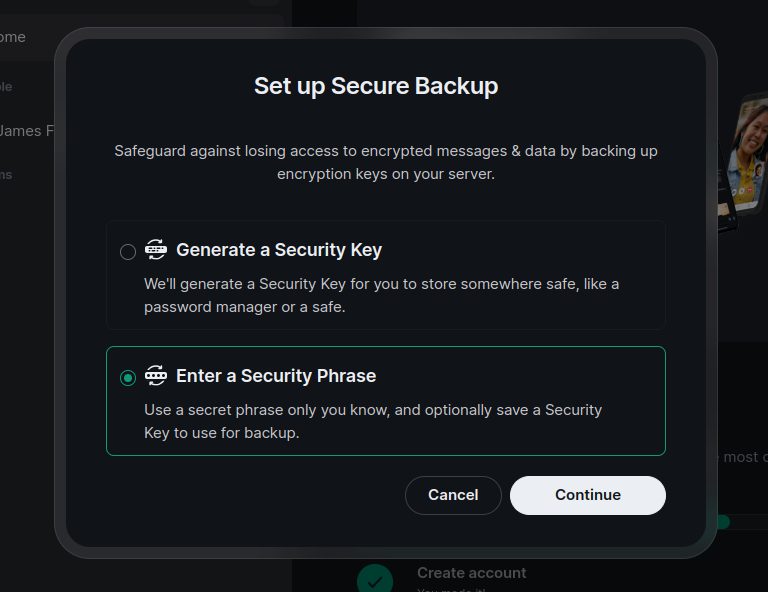
Select either generate a security key (similar to Two-factor authentication backup OTP codes), or enter a security phrase (like a second password)
- Even if you use a security phrase, you will get a security key (in case you forget your phrase)
-
You’ll then be asked to confirm your password (not phrase or key!)
-
Insert your security phrase
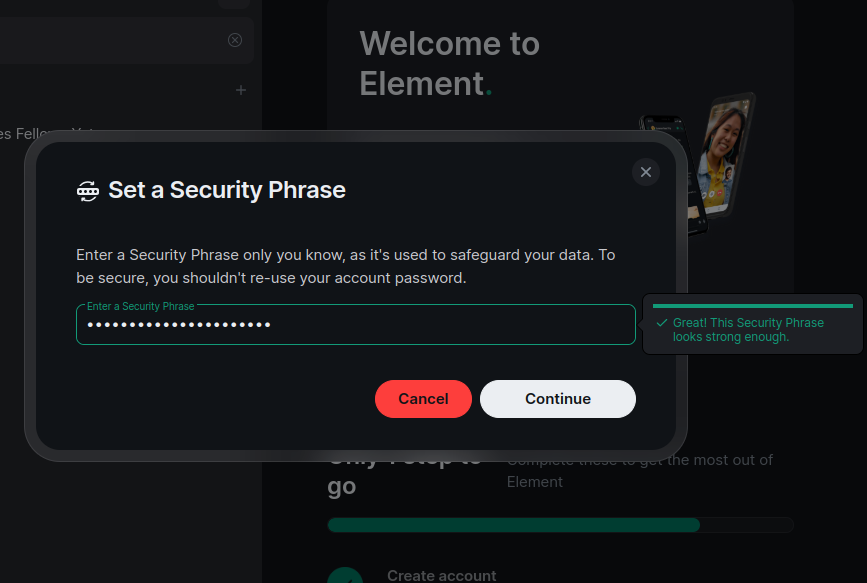
-
Confirm your security phrase
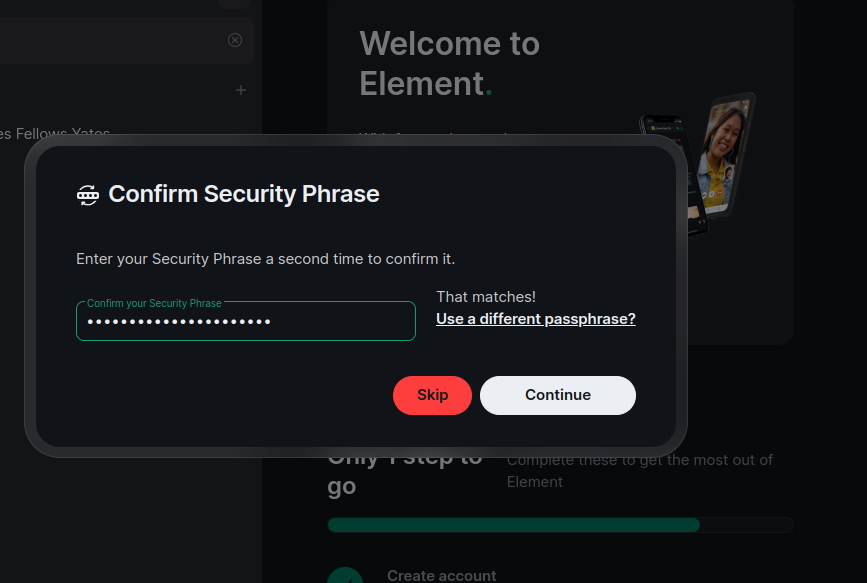
-
Save the security key somewhere safe (e.g. print it off and store somewhere secure!)

-
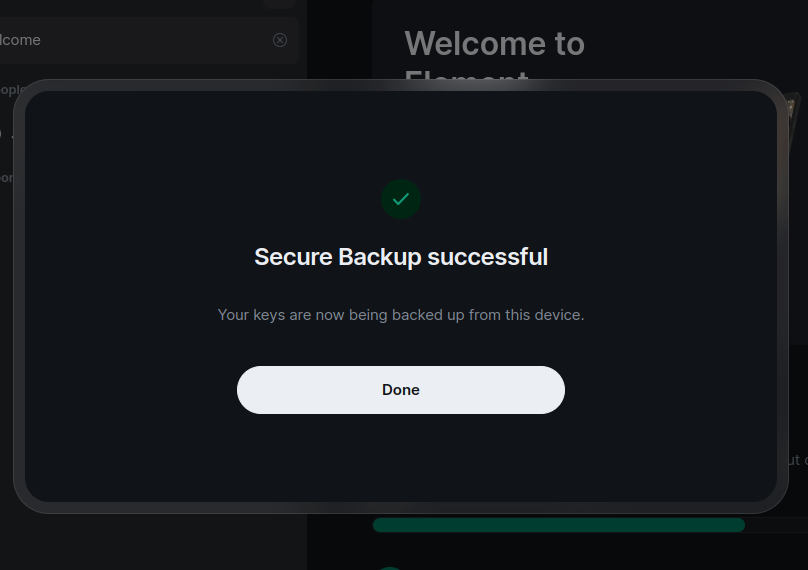
Press done to complete the process
Second step: Cross-sign
- If not already in a session, log into the first session (e.g., in the web-browser client as at the end of the procedure for ‘sign up’)
-
Make sure cross-signing is available
-
Go to personal settings menu (click on your face/profile picture in the top left)
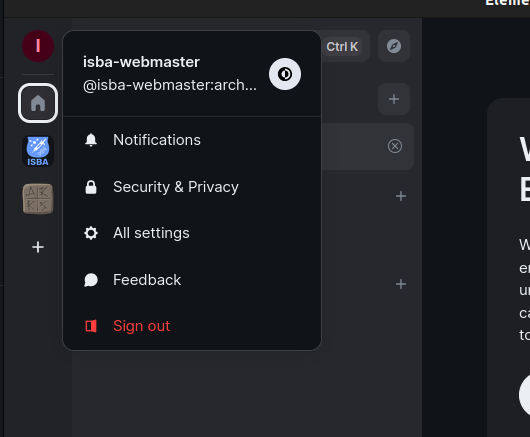
-
Navigate to Security and Privacy > Cross-signing
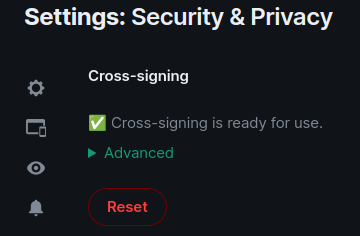
-
Make sure it says ‘Cross-signing is ready for use’ (if it does not say this, check the encryption step above)
-
- Log into the second session on a different client with your account and password (e.g., the Element mobile app, see all options above)
-
After logging in you will be prompted to ‘verify with another device’
-
This may come up as notification or a banner at the top of the session
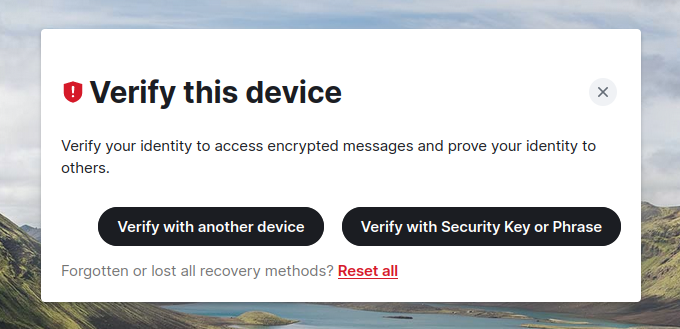
-
- Press the ‘verify’ button, and follow the instructions
-
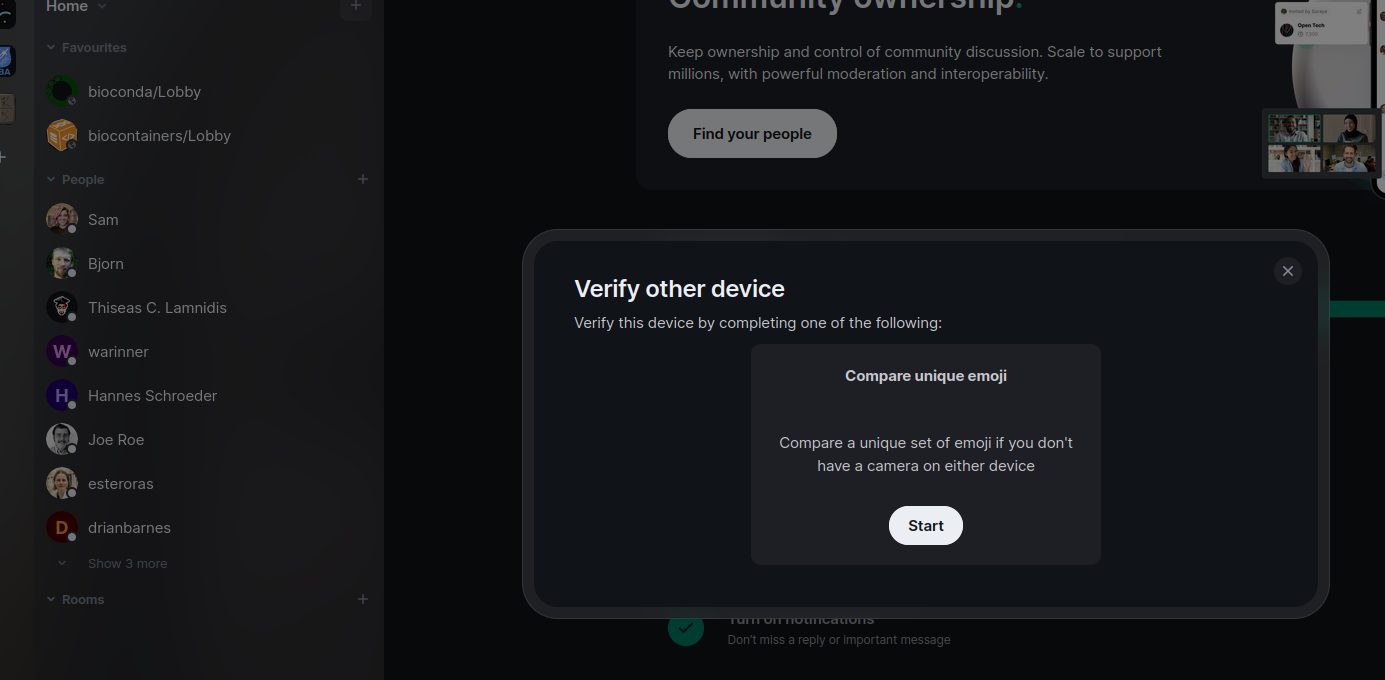
Go to your other device, and you should have a notification to ‘verify session’

- Press ‘verify’
-
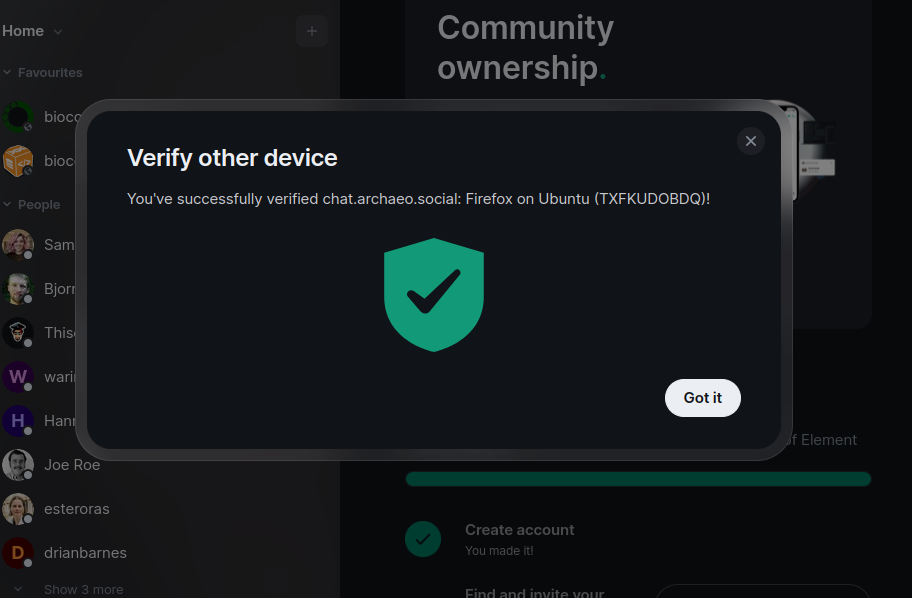
Follow the instructions to either cross-compare an emoji combination displayed on both sessions, or scan a QR code (in this case, I only had one option)

- Press verify on both sessions when you see the shield. You should then be done